VIDEO: Step-by-Step Greenery Wall Outdoor Install
Complete Guide: Installing an Outdoor Greenery Wall on Masonry
If you've been dreaming of a backyard upgrade, this video walks you through every step of installing a large artificial greenery wall on an outdoor masonry surface. Whether you're covering up a damaged wall or just adding some much-needed texture and greenery to your outdoor space, this guide has you covered.
Outside Installation Video Timestamps & Chapters (skip ahead if you'd like!):
0:00 – Introduction
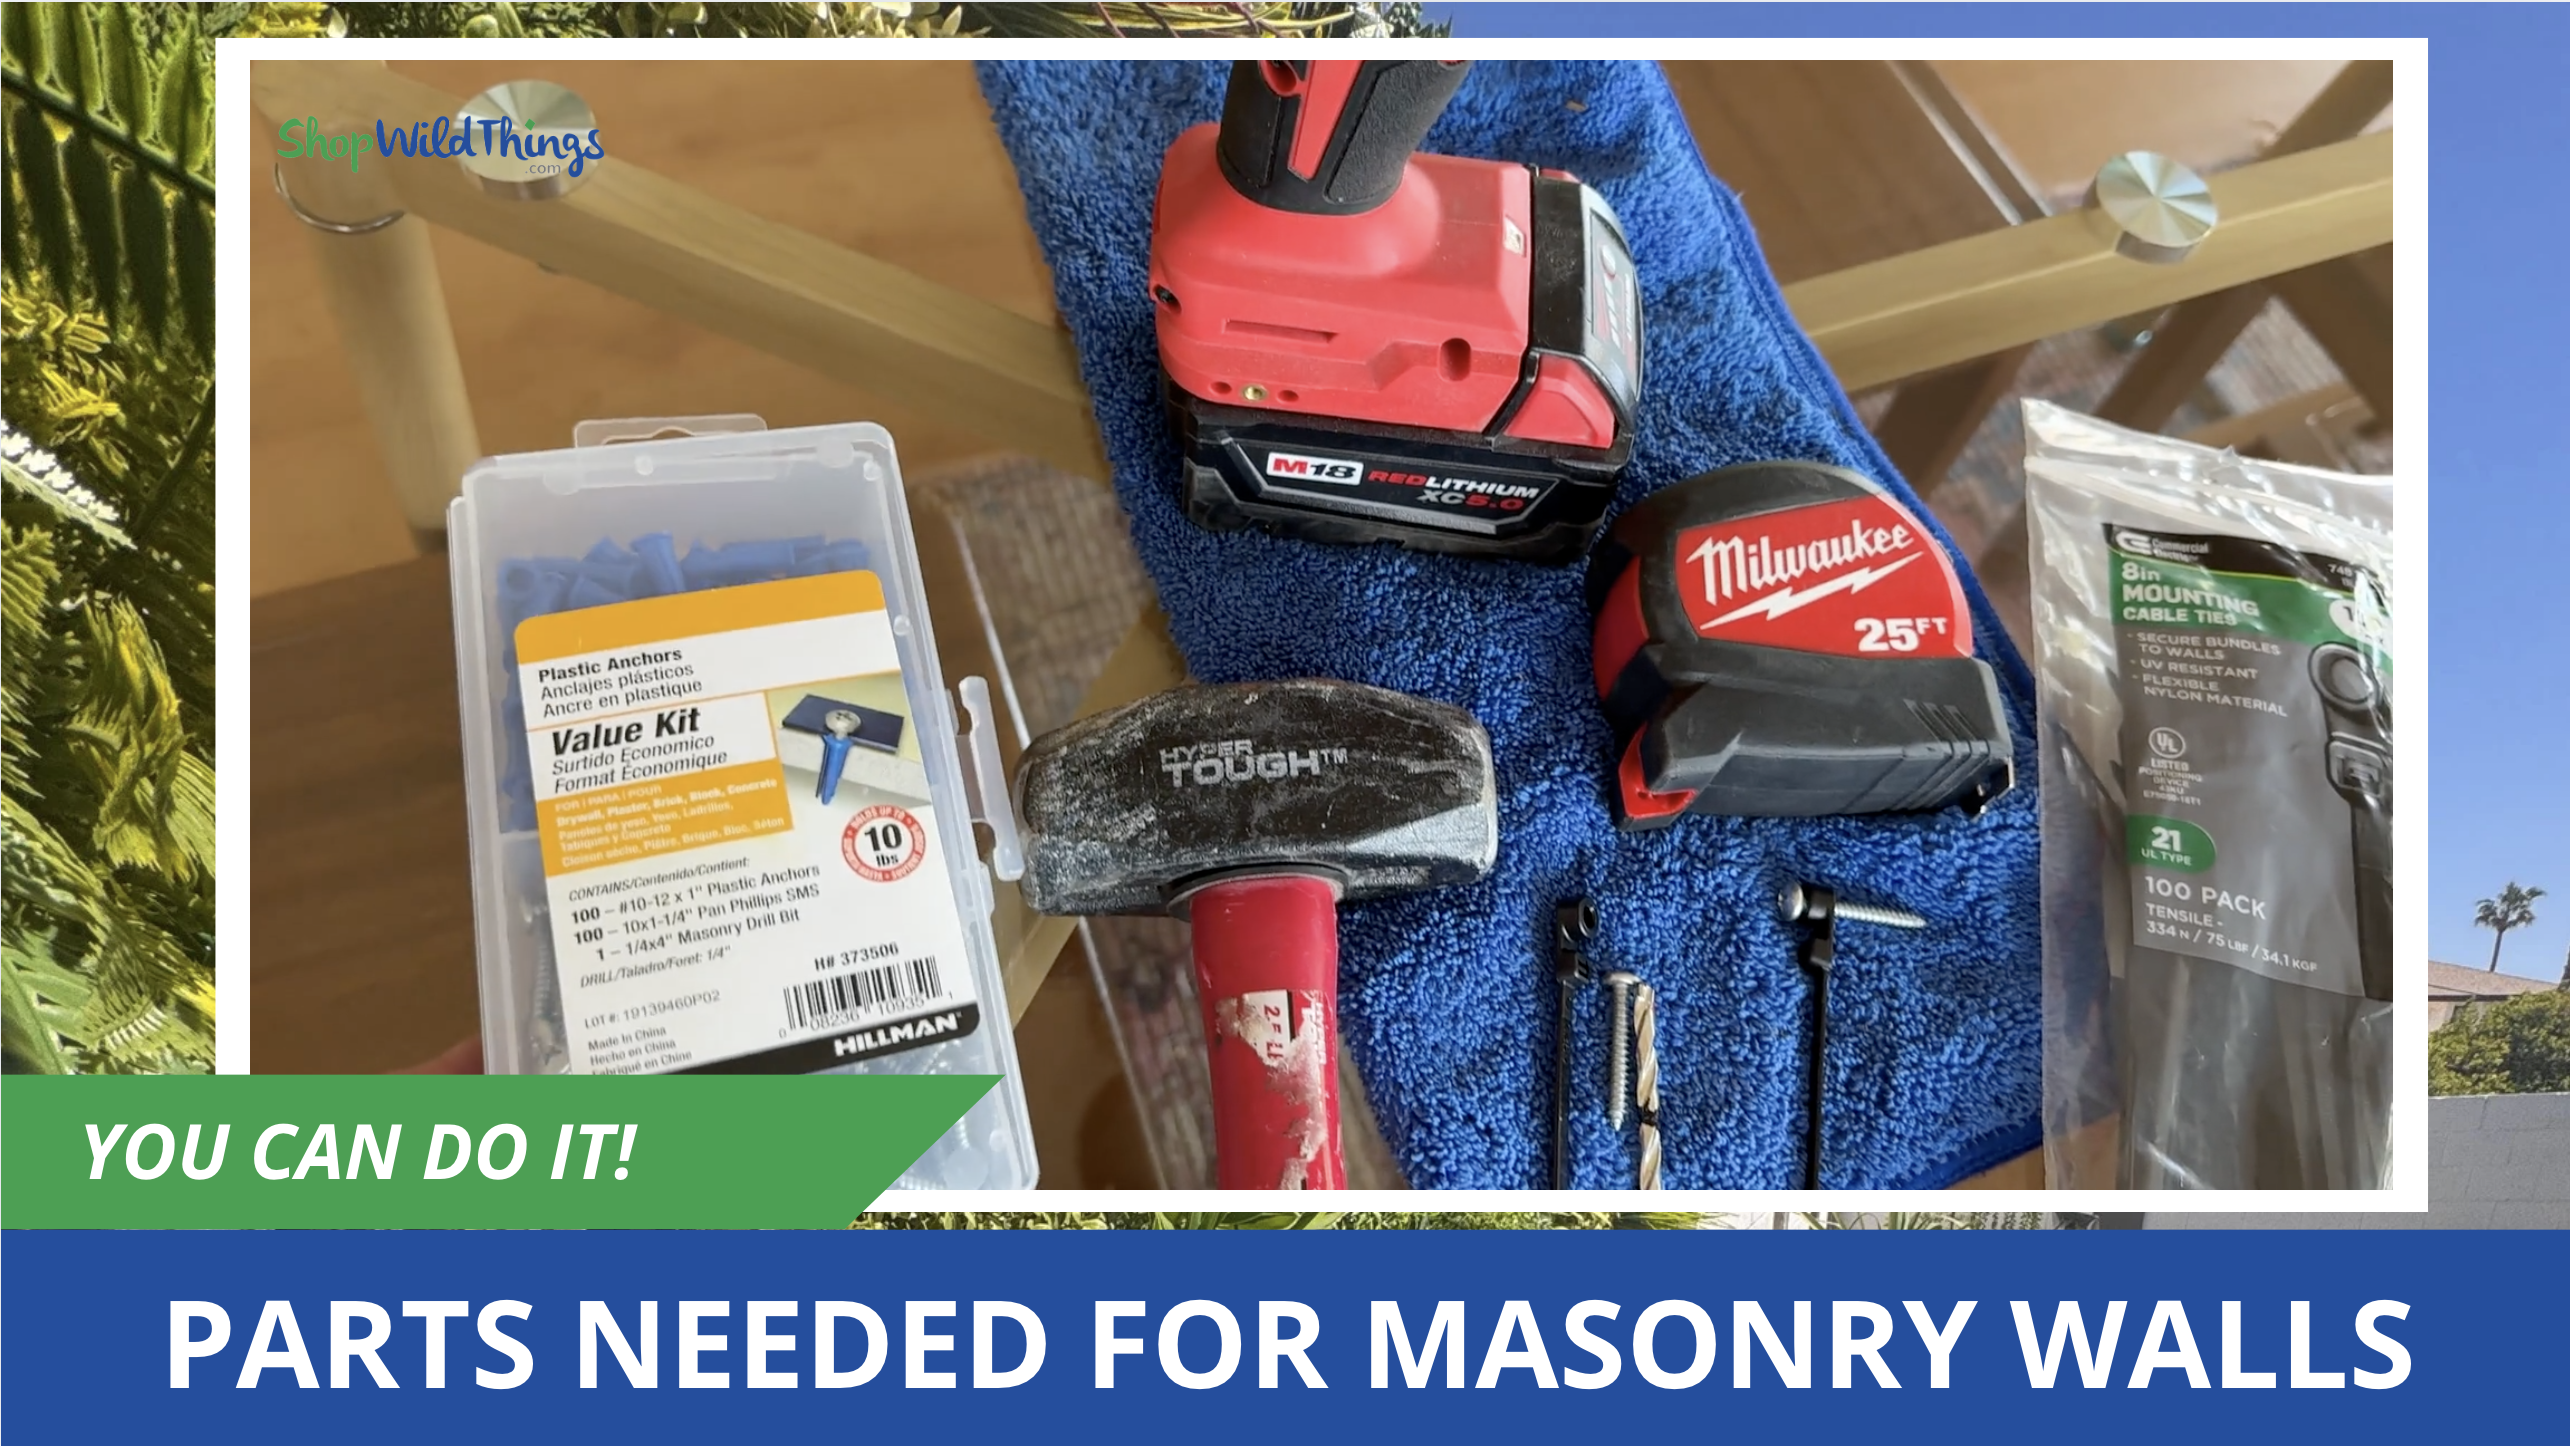
0:52 – Tools and Parts to Buy
2:09 – 4 Step Demonstration
4:03 – How to Connect
5:12 – Cutting Greenery Walls
5:39 – Complete Shopping List
5:52 – FAQ's for Greenery Walls
6:04 – Before and After Photos
We used our most popular greenery panels—Dream Meadow and Fantasy Courtyard —both of which are available right here at ShopWildThings. These panels are UV-resistant, built for the outdoors, and give an instant designer look to walls, fences, and patios. Note: Fantasy Courtyard is ALSO available in a Fire Rated Version!
Whether you’re a homeowner, designer, or DIY enthusiast, this tutorial shows you exactly how to create a lush, professional-looking greenery wall that elevates any outdoor area.
From the tools you’ll need to prepping the surface, securing the panels, and making finishing touches, this video is packed with helpful tips to ensure your installation is smooth and long-lasting. And because ShopWildThings is based in Arizona, your order ships quickly—no long waits or mystery shipping times like you might run into with other suppliers.
Why Customers Love Our Greenery Walls:
- Instantly hides unsightly walls or fencing
- No watering, trimming, or maintenance
- Durable in direct sun and desert heat
- Easy to install with basic tools
- Perfect for homes, patios, event spaces, and rentals
ShopWildThings Greenery Wall Products Featured:
- Dream Meadow Greenery Wall
- Fantasy Courtyard Greenery Wall
Tools & Parts You'll Need:
- Pencil
- Measuring Tape
- Drill
- Concrete Anchor & Screws Kit (with MASONRY bit included)
- Hammer
- Screwdriver
- Optional: Wire Ties with Eyelet (The video shows how they are not necessary, but might help in extremely windy areas.)